Forms
Webflow
Collect Form signups from Webflow Forms using webhooks to create contacts and companies in CustomerOS
Using Webflow’s Forms, you can collect signups and add people to a waitlist.
It is simple to feed these form fills into CustomerOS to enrich data and automate followup steps.
1. Add a Webhook to your Webflow site
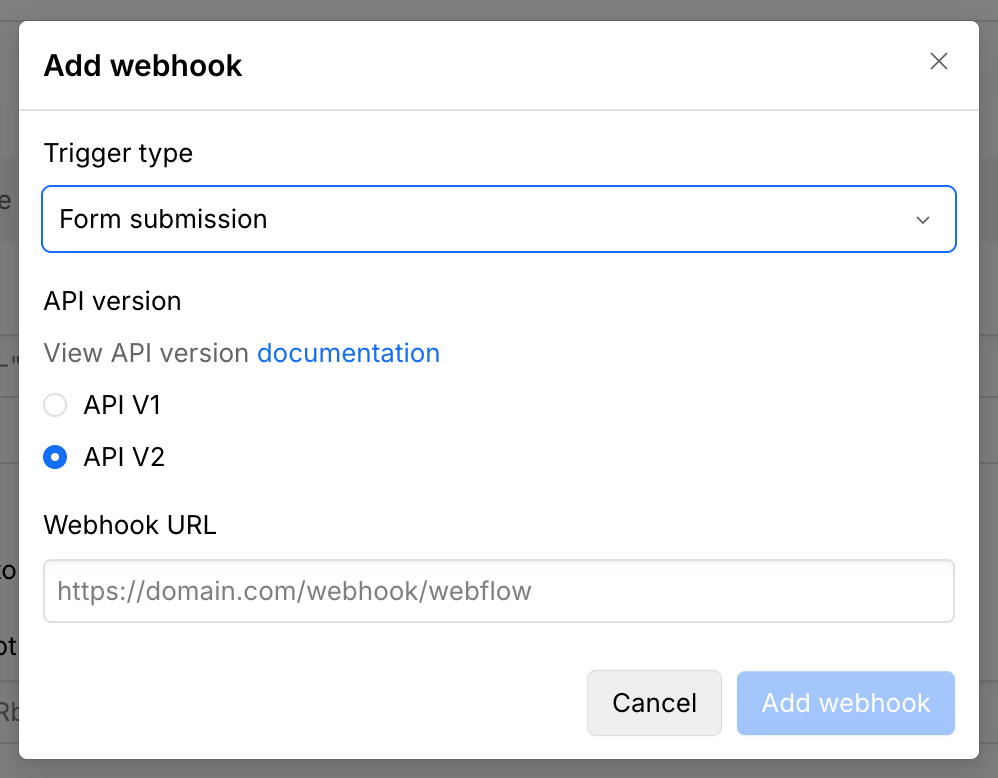
To start you should setup aForm submission webhook using API V2 in your sites settings page, at the bottom of the Apps & Integrations section.
Use the following endpoint to send all form submissions from this Webflow site to CustomerOS.
Webhook URL: https://api.customeros.ai/events/v1/webflow
2. Add Webflow Site ID to CustomerOS
For CustomerOS to link form submissions Optionally if you want to separate2. Create a Form Block on your site
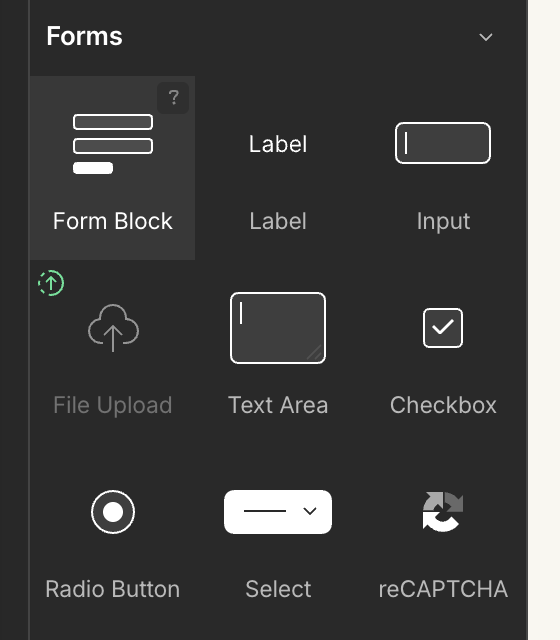
To create a form, click the+ in the top left of the Webflow Site Designer. Then select Form Block.
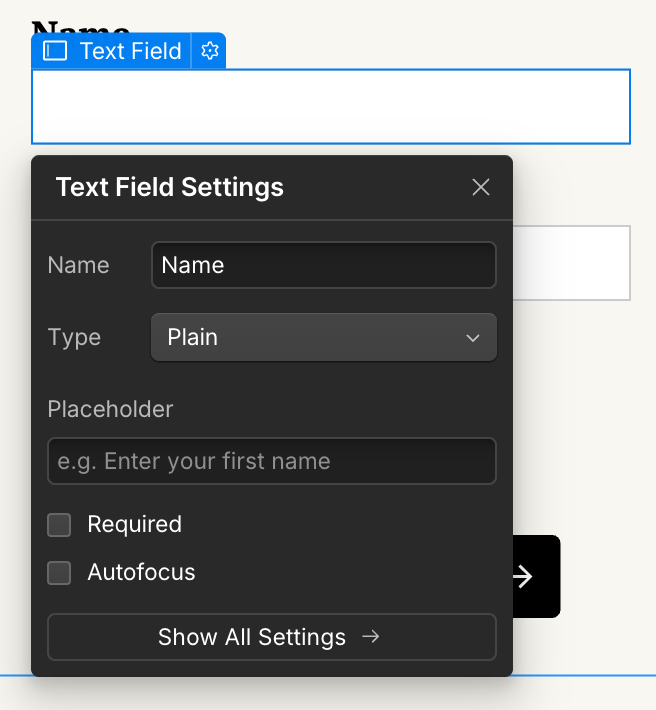
3. Set Text Field names to match the data you are collecting
You can collect whichever data you want and CustomerOS will automatically map the fields you collect to the available fields in CustomerOS (including custom fields), however typically the bare minimum we recommend to collect are theEmail and Name of your contacts.
CustomerOS uses the Name of every Text Field to match what data it receives to each person object in CustomerOS.
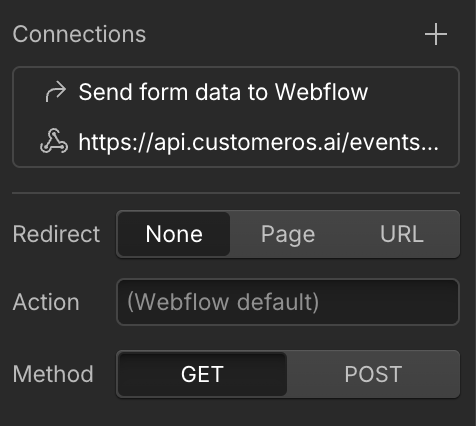
4. Send data via Webhook to CustomerOS
Finally we want to send form fills to CustomerOS via the webhook. You shouldn’t have to do anything as the webhook should have already been populated to all form objects on the site when we configured the webhook in the first step.